Follow the steps below to connect the ThinLine Radio app to the Tri-State Scanner feed. If you haven't downloaded the app yet, grab it from the store first:
Apple App Store | Google Play Store
Adding the Tri-State Scanner to ThinLine Radio
Get the app connected to the Ohio Valley Tri State Scanner feed, create your account if needed, and finish registration.
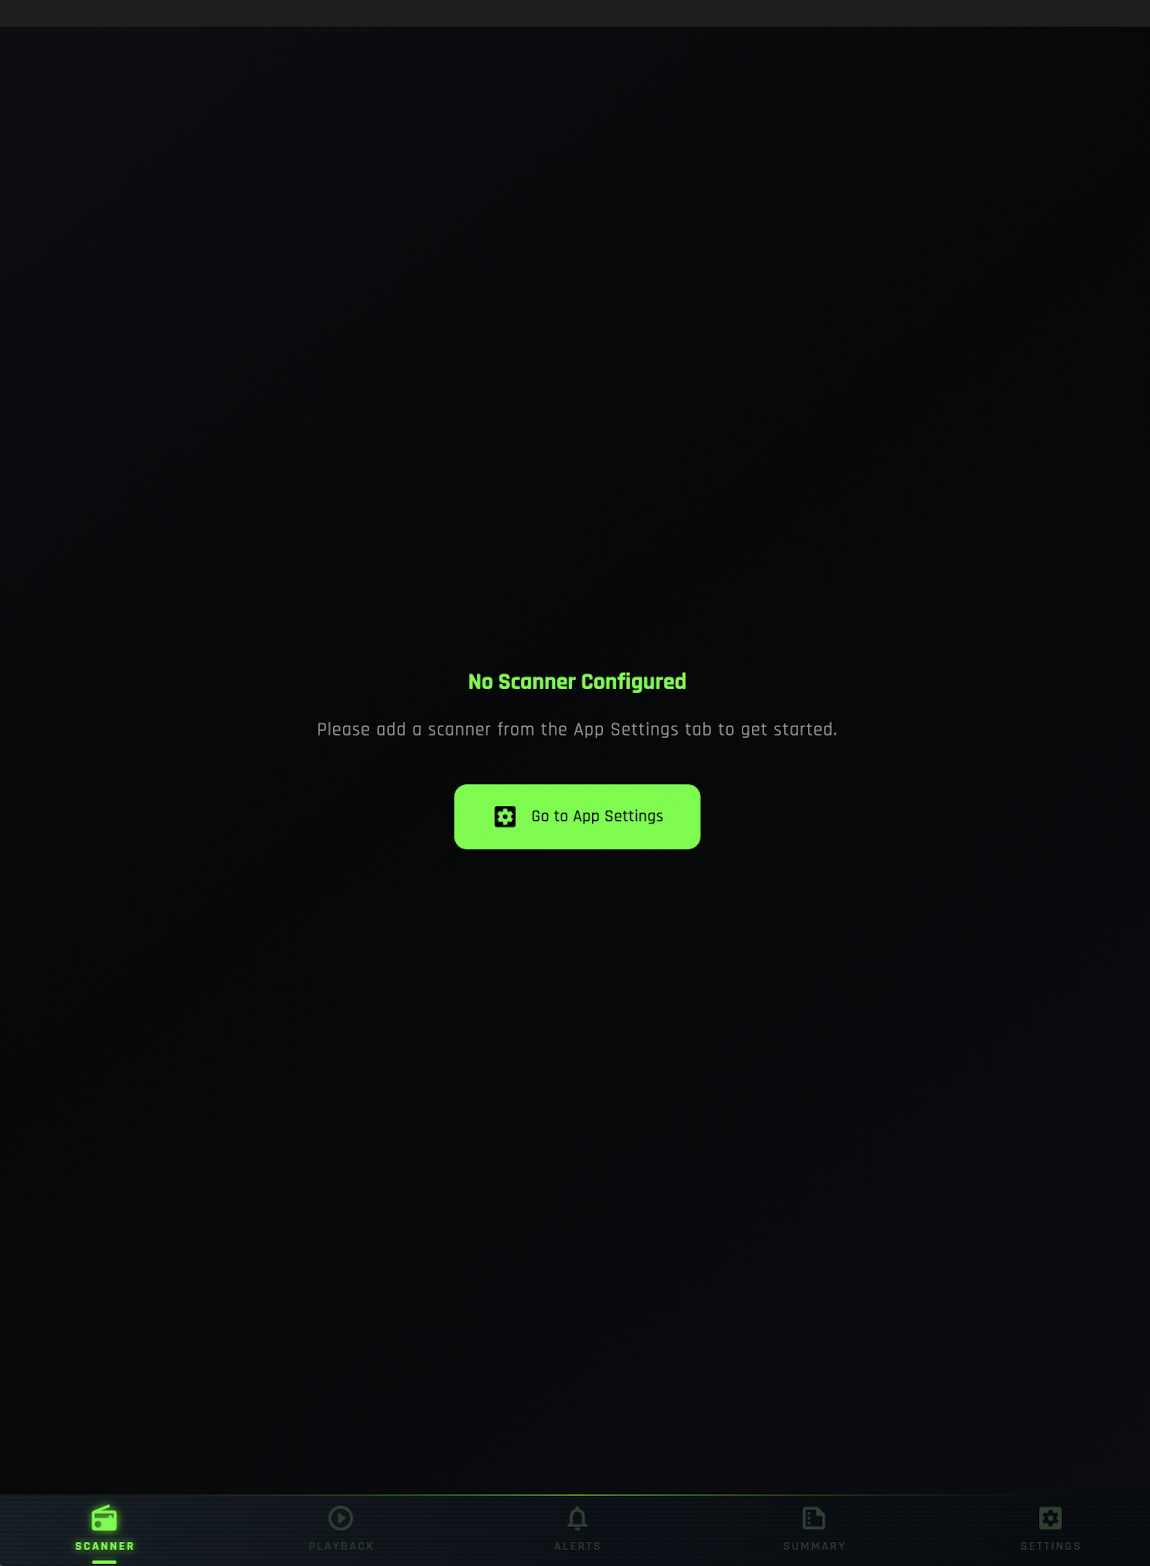
Launch the ThinLine Radio app and tap "Go To App Settings" from the main screen.
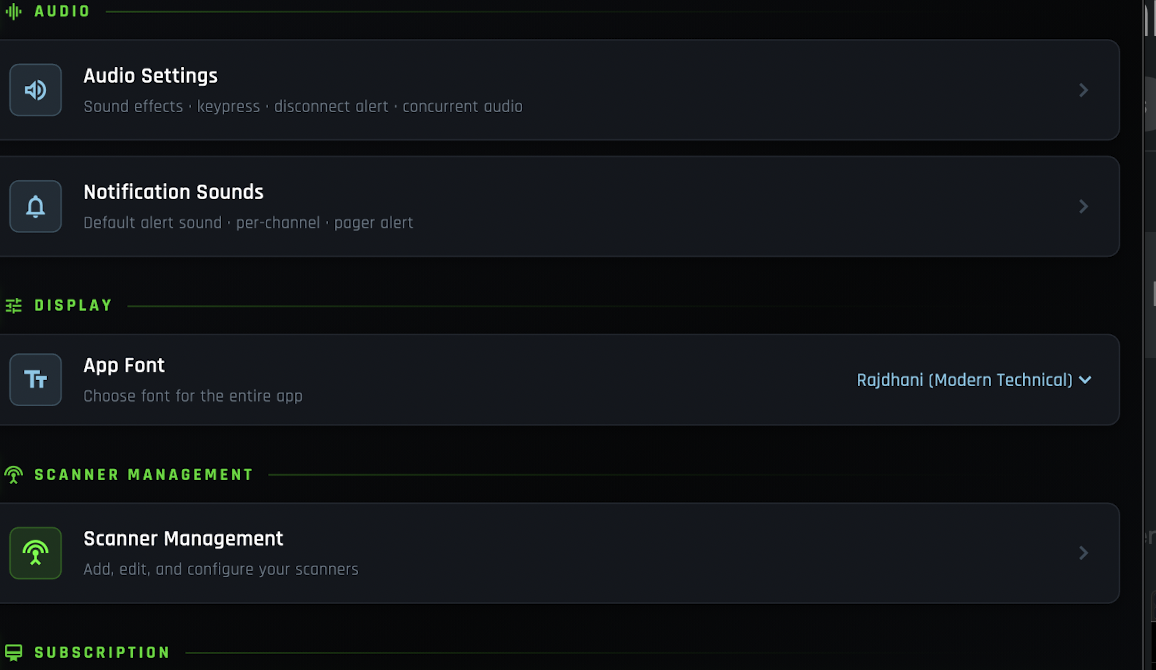
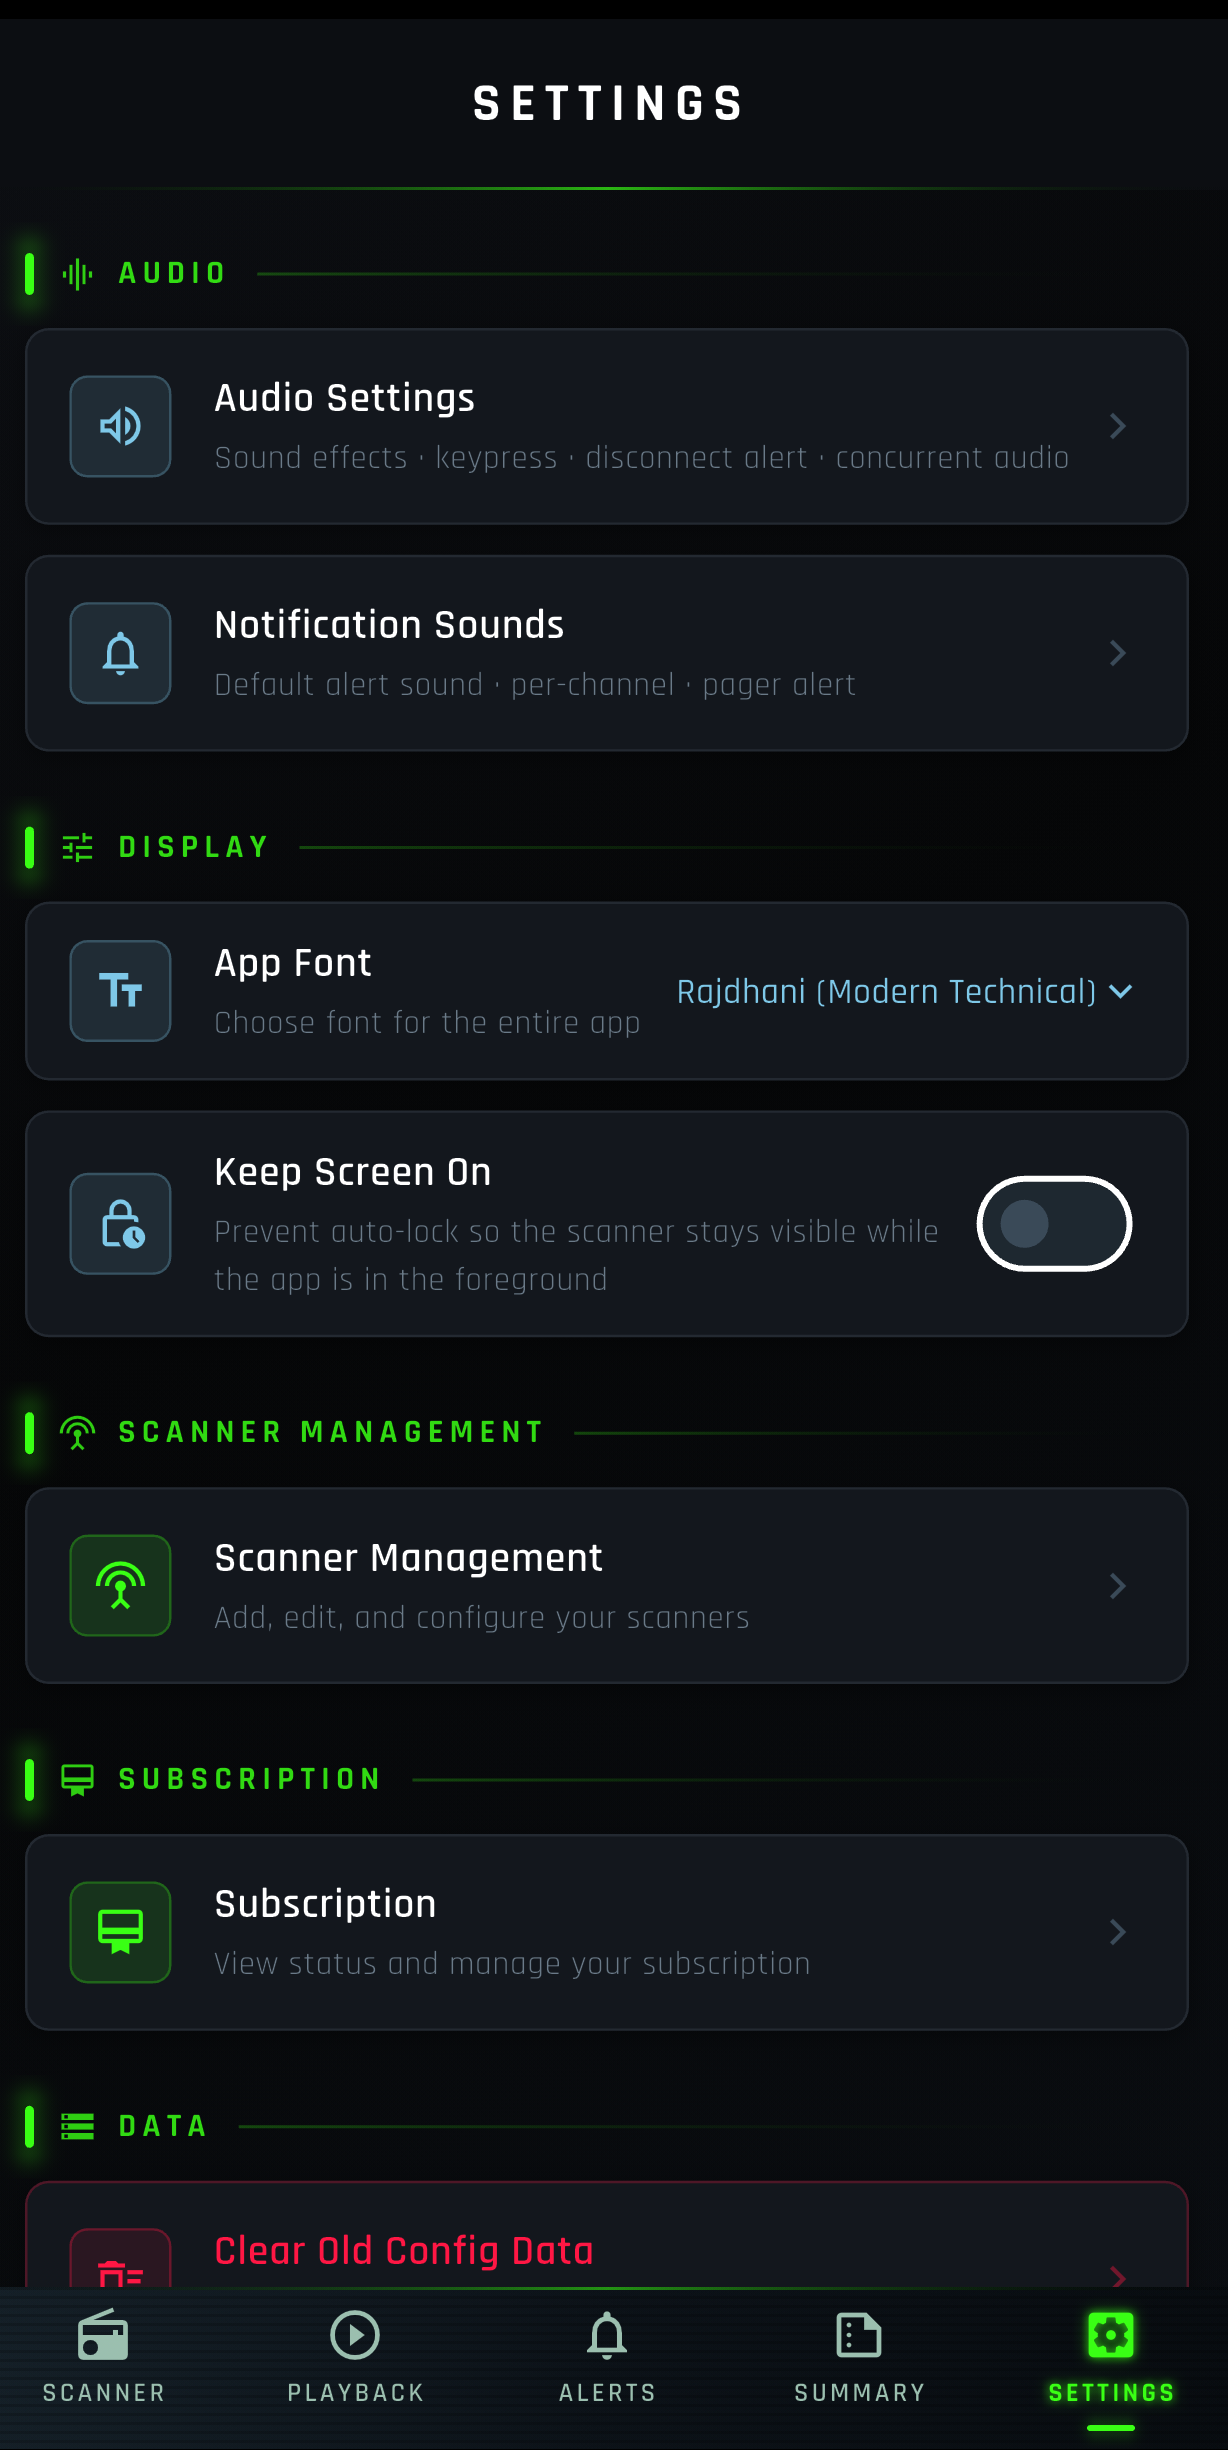
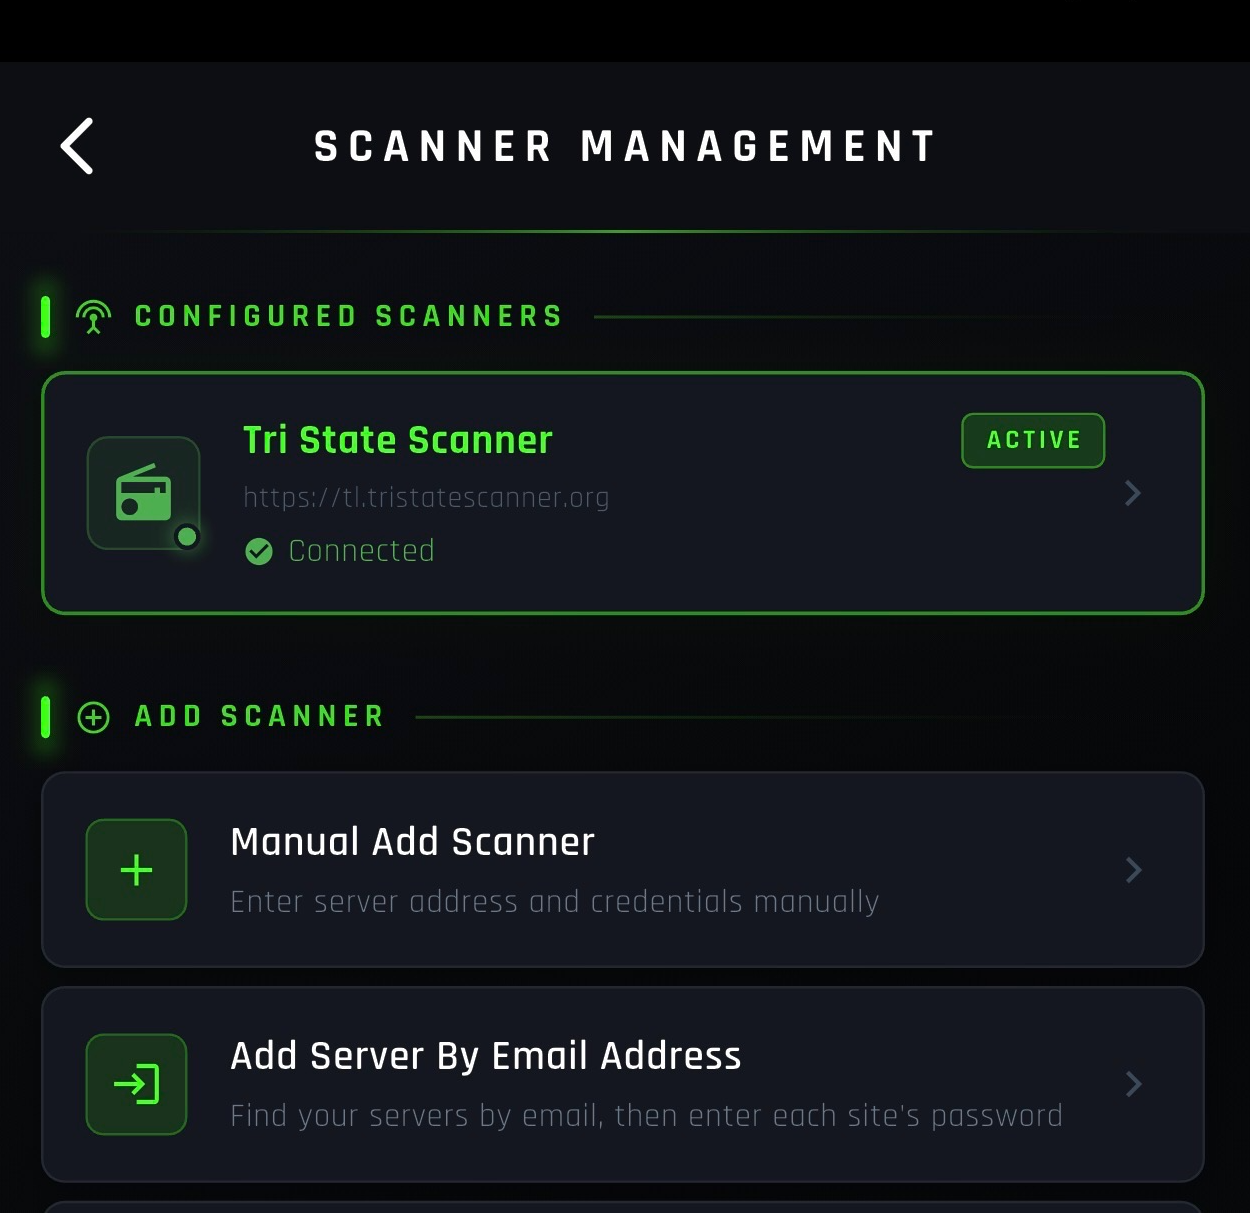
Tap "Scanner Management" from the App Settings menu.
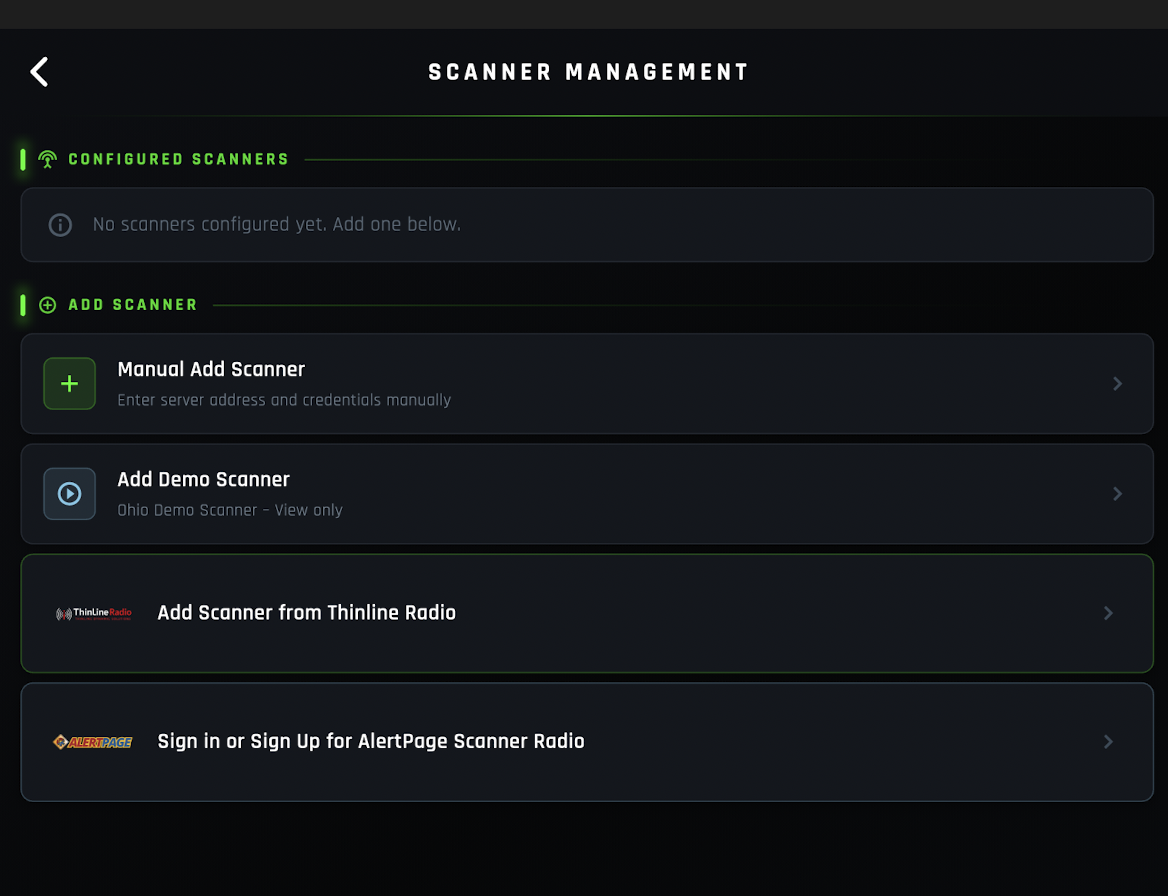
Select "Add Scanner from ThinLine Radio" to browse available scanner feeds.
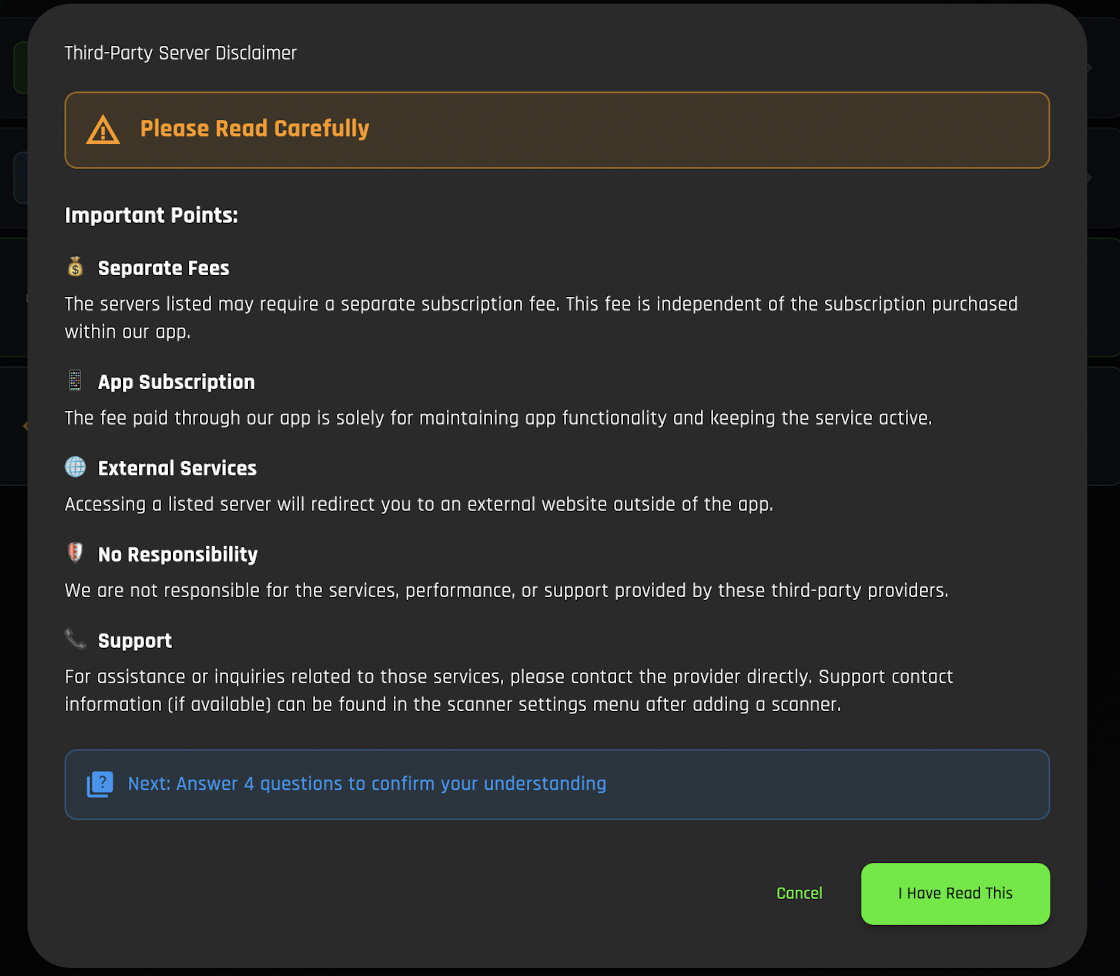
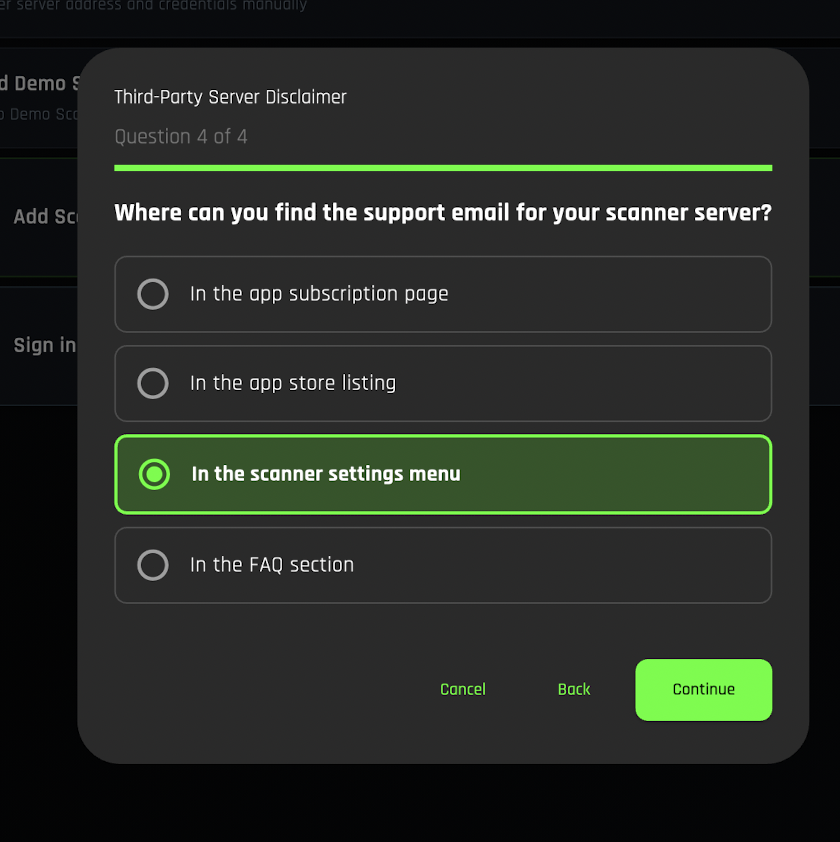
Read the Third-Party Disclaimer and tap "I Have Read This" to continue.
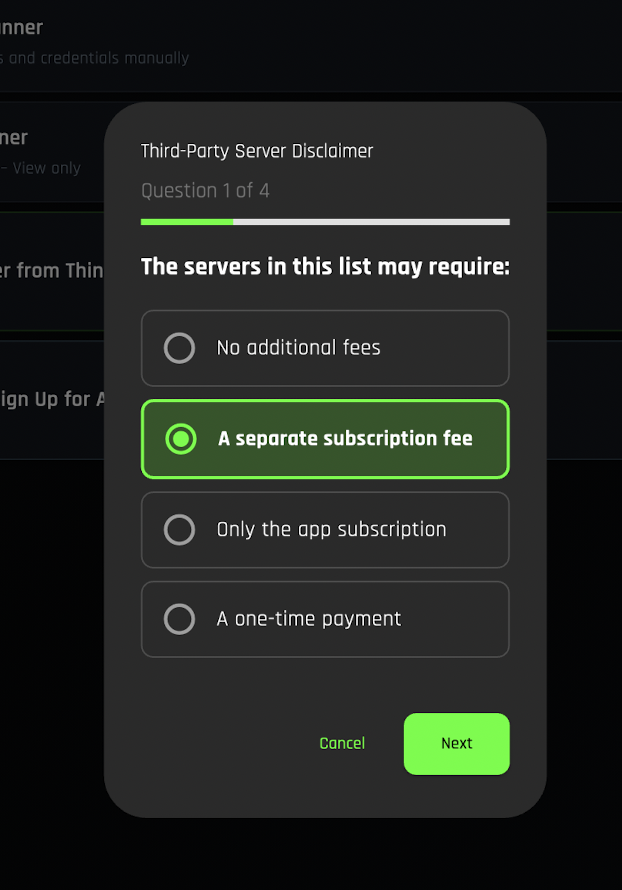
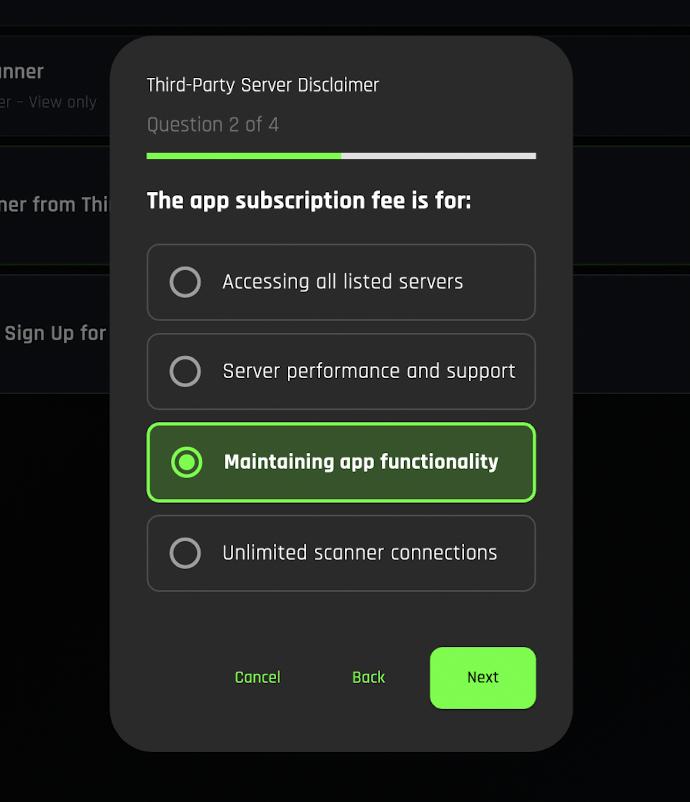
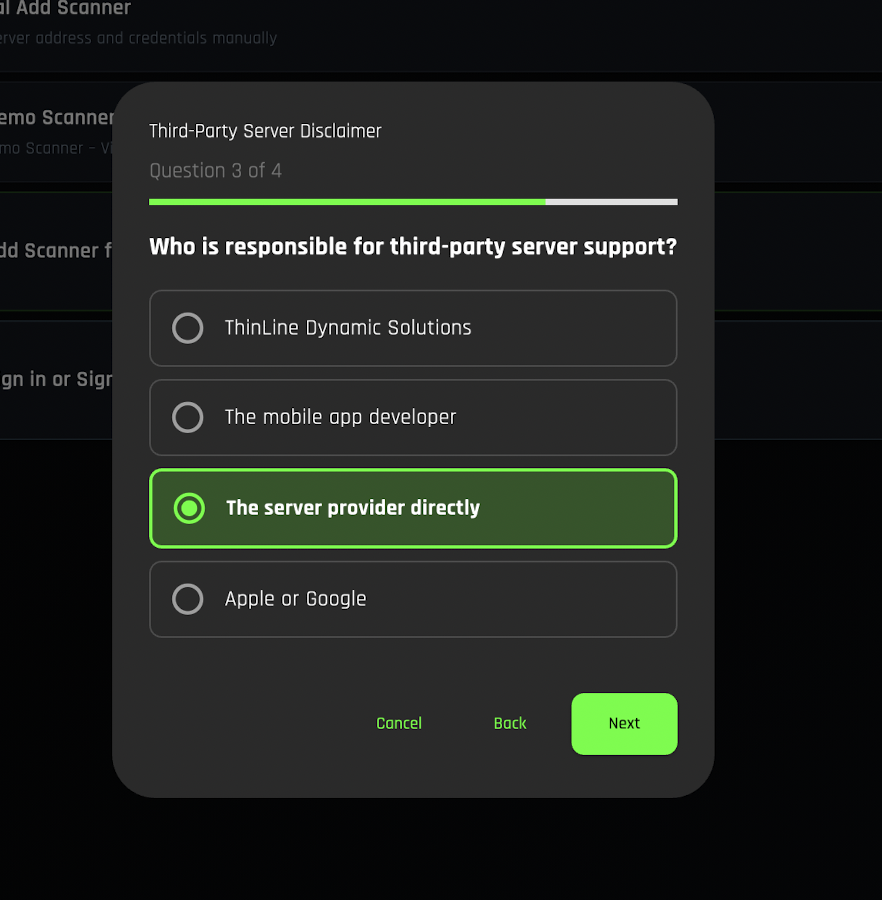
Answer the four questions presented on the following screens. These help configure your feed preferences.
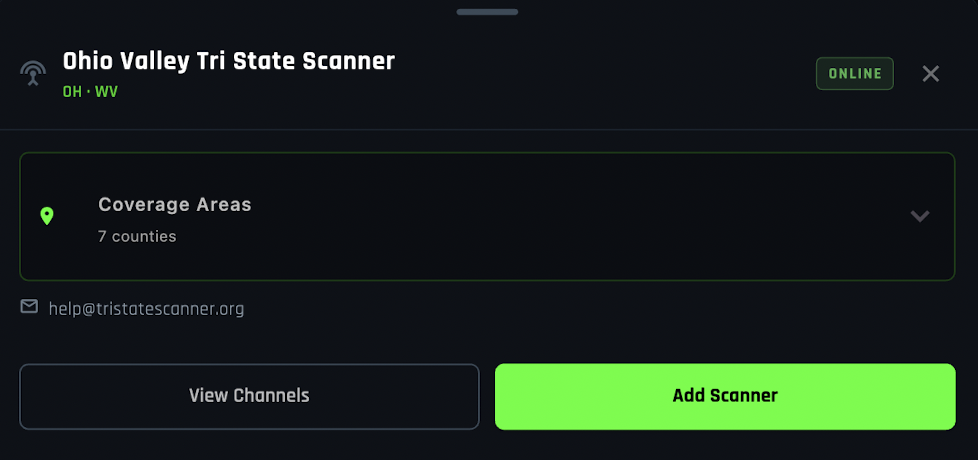
Scroll through the list of available scanners and look for "Ohio Valley Tri State Scanner". Tap on it to select it.

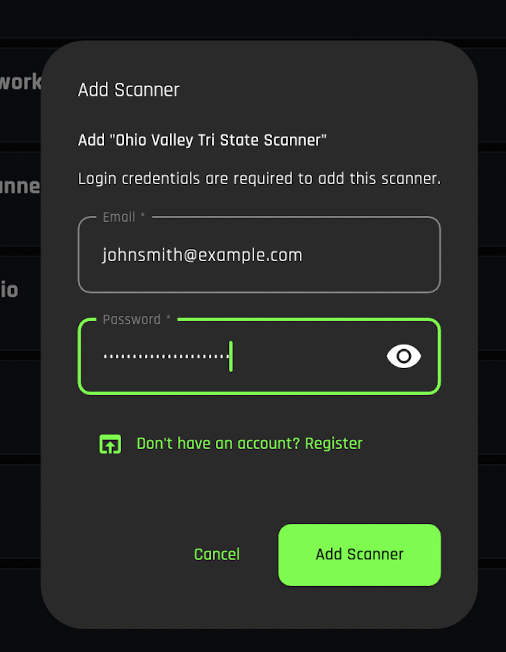
Tap "Add Scanner" to begin the registration process.
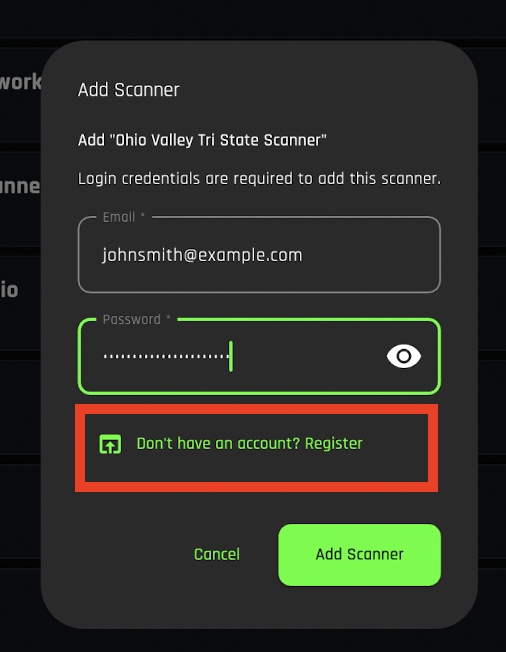
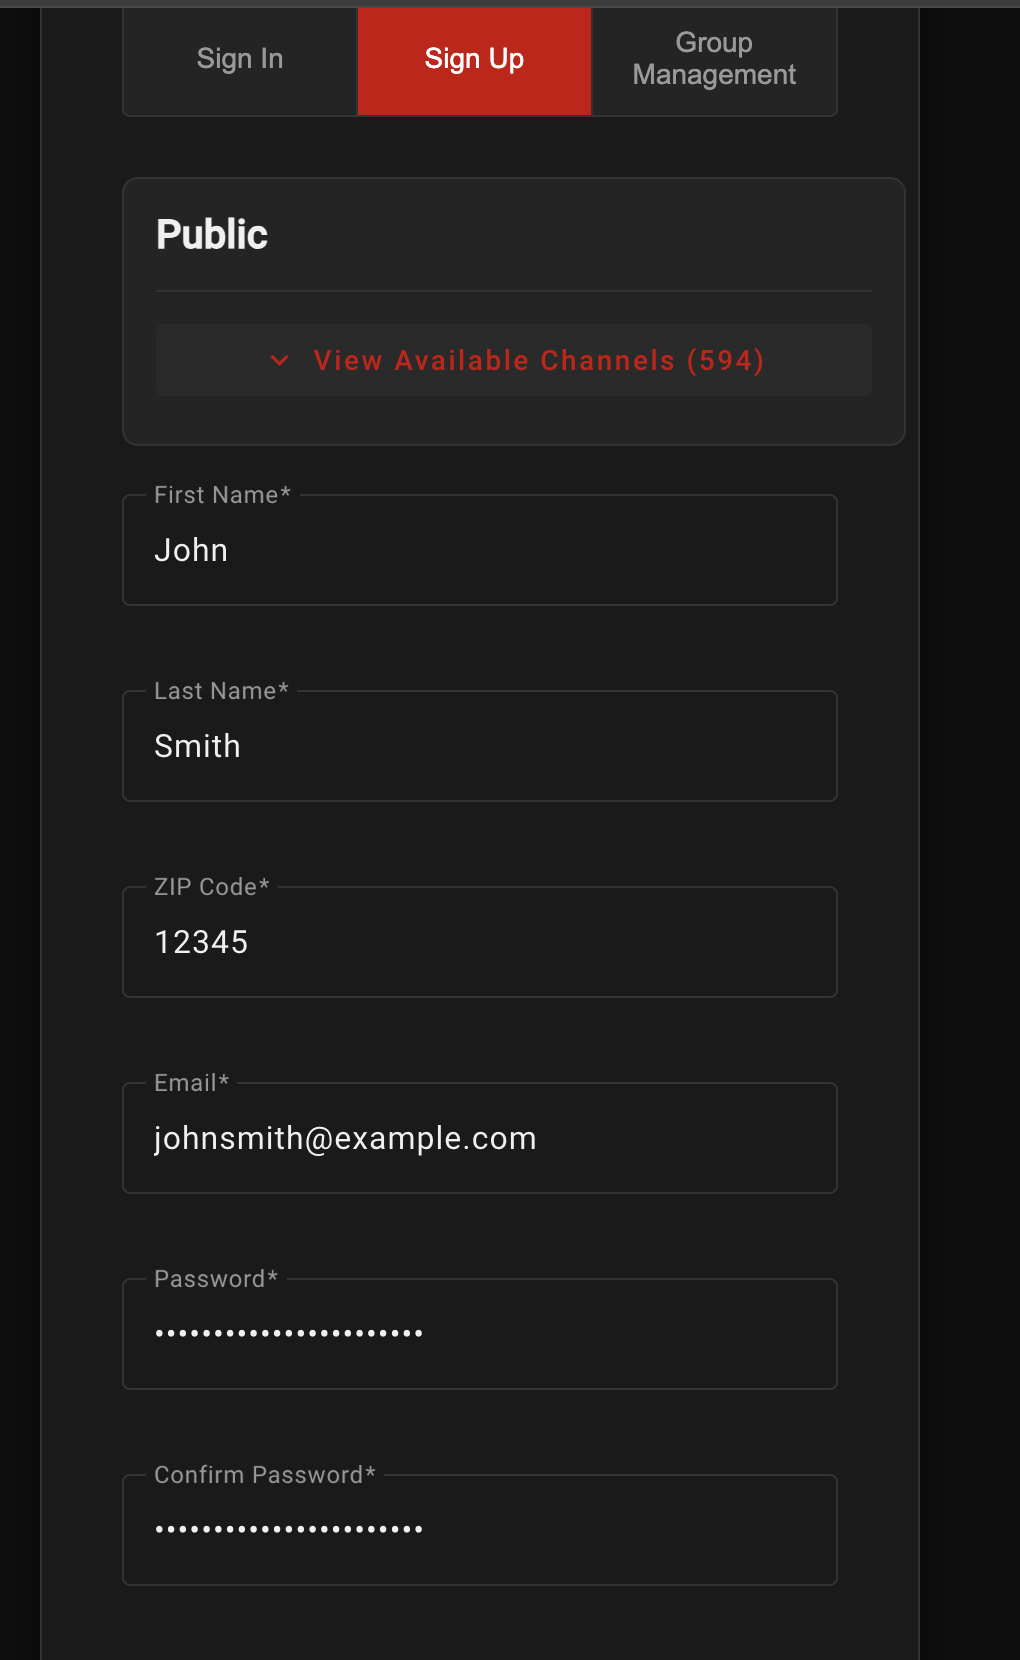
You will need a ThinLine Radio account to continue. If you don't have one yet, you can register at tl.tristatescanner.org or follow the in-app sign-up prompts.
Once you have an account, enter your credentials and tap "Add Scanner" again to finalize the connection.
Selecting Talk Groups
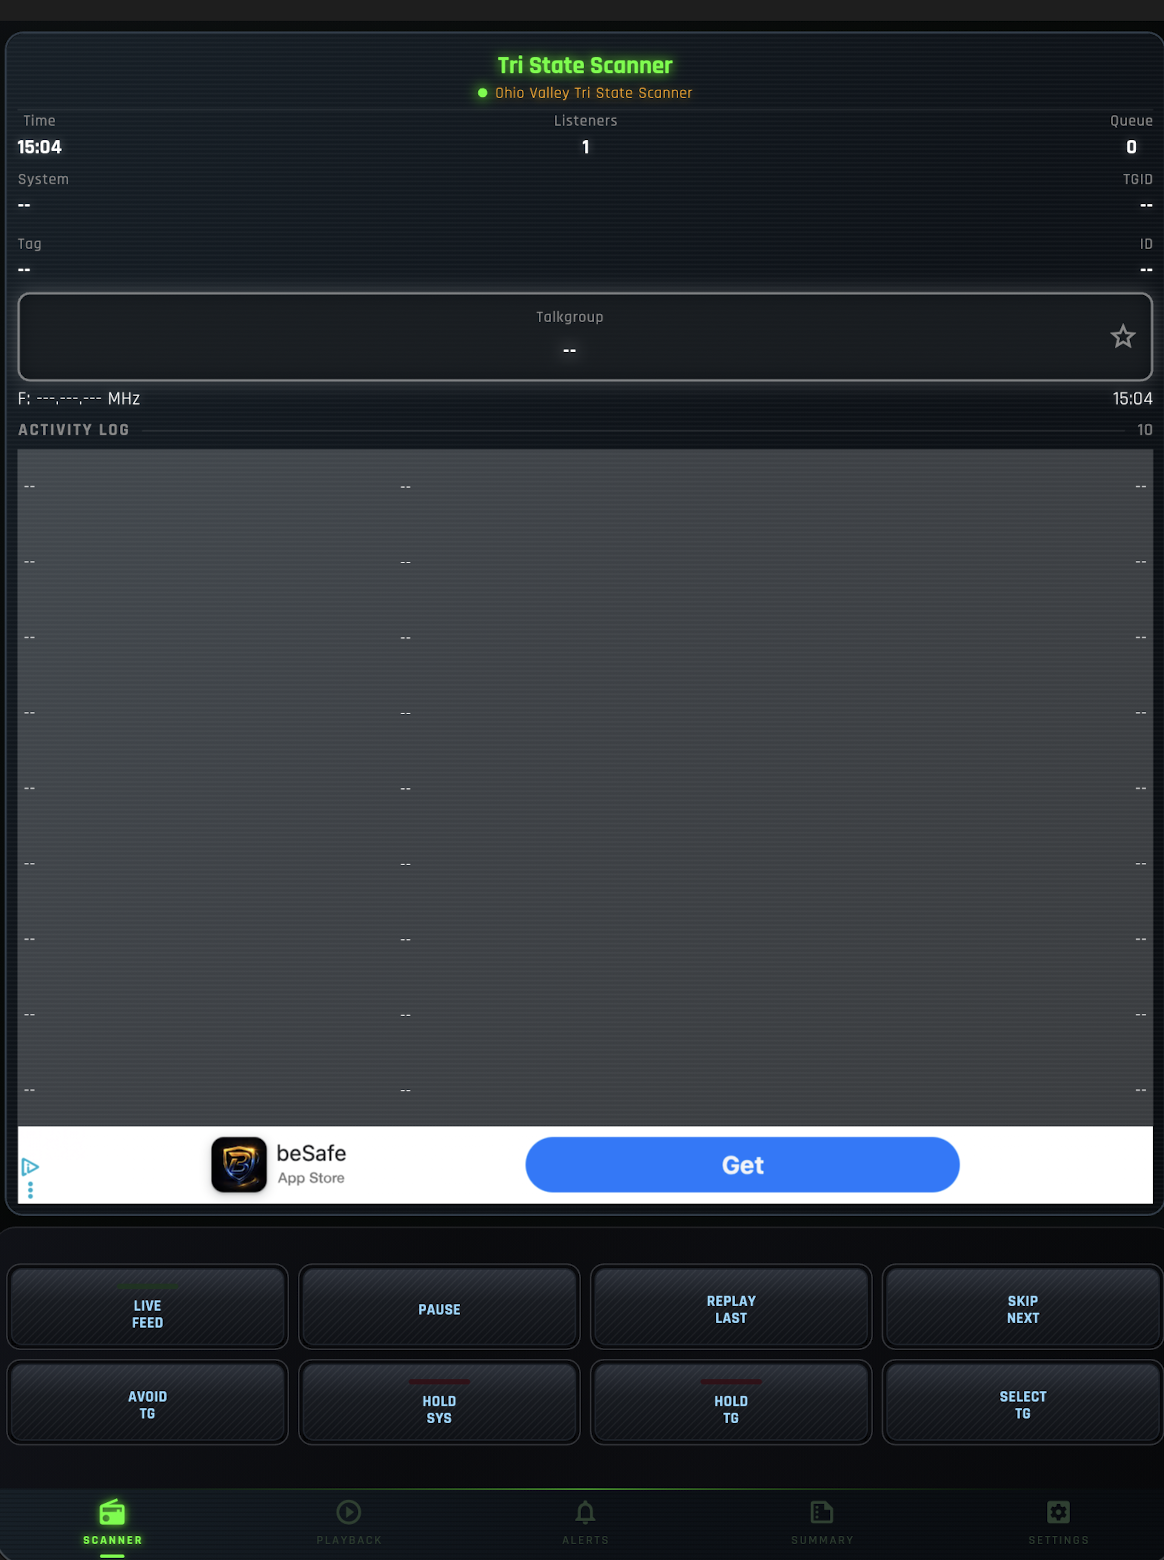
Once your scanner has been added, choose which counties, departments, or agencies you want to monitor and start the live feed.
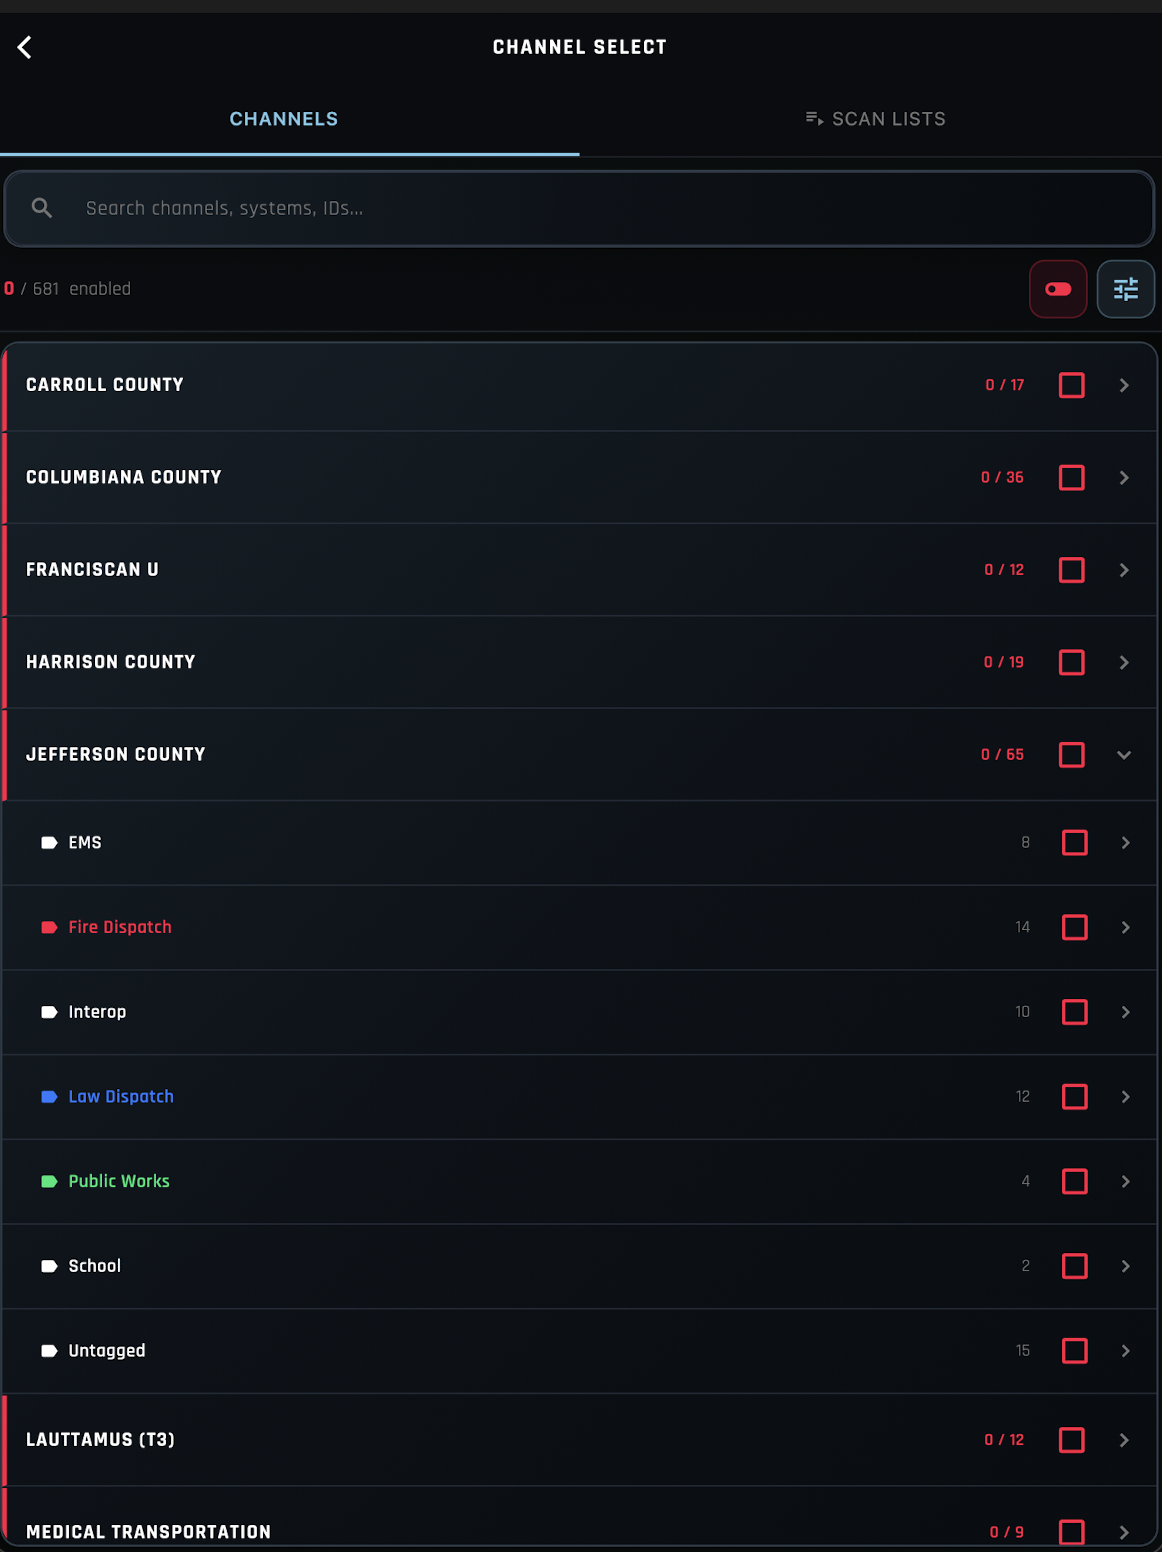
From the main screen, tap "Select TG" (Talk Groups) to open the channel selection menu.
Browse the available talk groups. You can enable or disable entire sections (e.g., a county) or select individual talk groups within each section. When finished, tap the back arrow to return to the main screen.
Back on the main screen, tap "Live Feed" to activate live scanning. When the button turns green, you are live!
Setting Up Fire Page Alerts
Setup Push Notifications for Fire Page Alerts for Select Systems (Currently Available: Jefferson County Fire Paging)
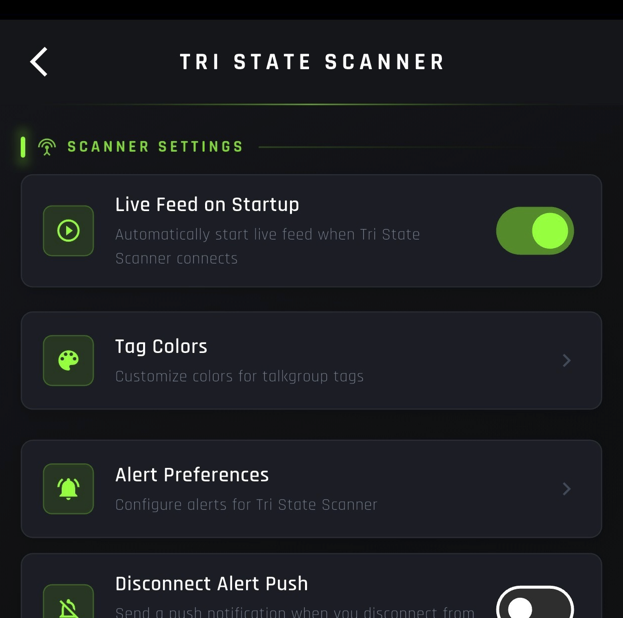
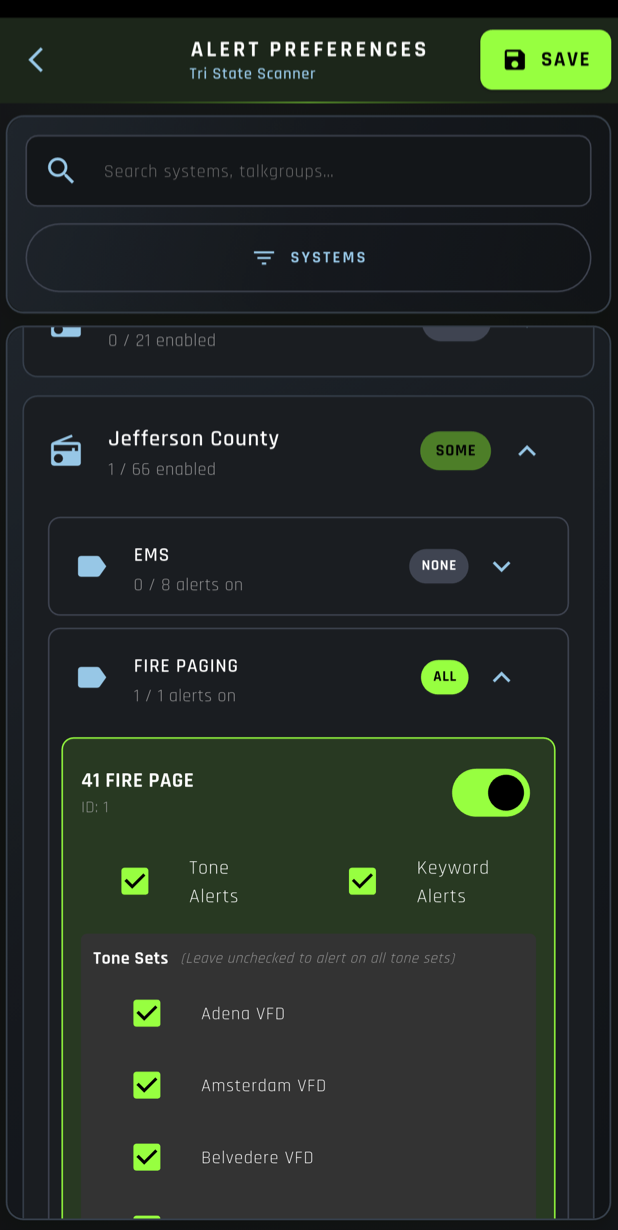
From the main screen, tap "Settings", then "Scanner Management". Select "Ohio Valley Tri State Scanner" and click on "Alert Preferences".
Scroll down to Jefferson County and expand FIRE PAGE.
Tap on each system you want to receieve push notifications for. You can also choose to receive alerts for all systems.
One Final Recommendation
Before you start using the app regularly, turn on one setting so live scanning starts automatically when you open the app.
From the main screen, tap "Settings", then "Scanner Management".
Tap on Ohio Valley Tri State Scanner and turn on Live Feed on Startup to automatically start live scanning when you open the app.
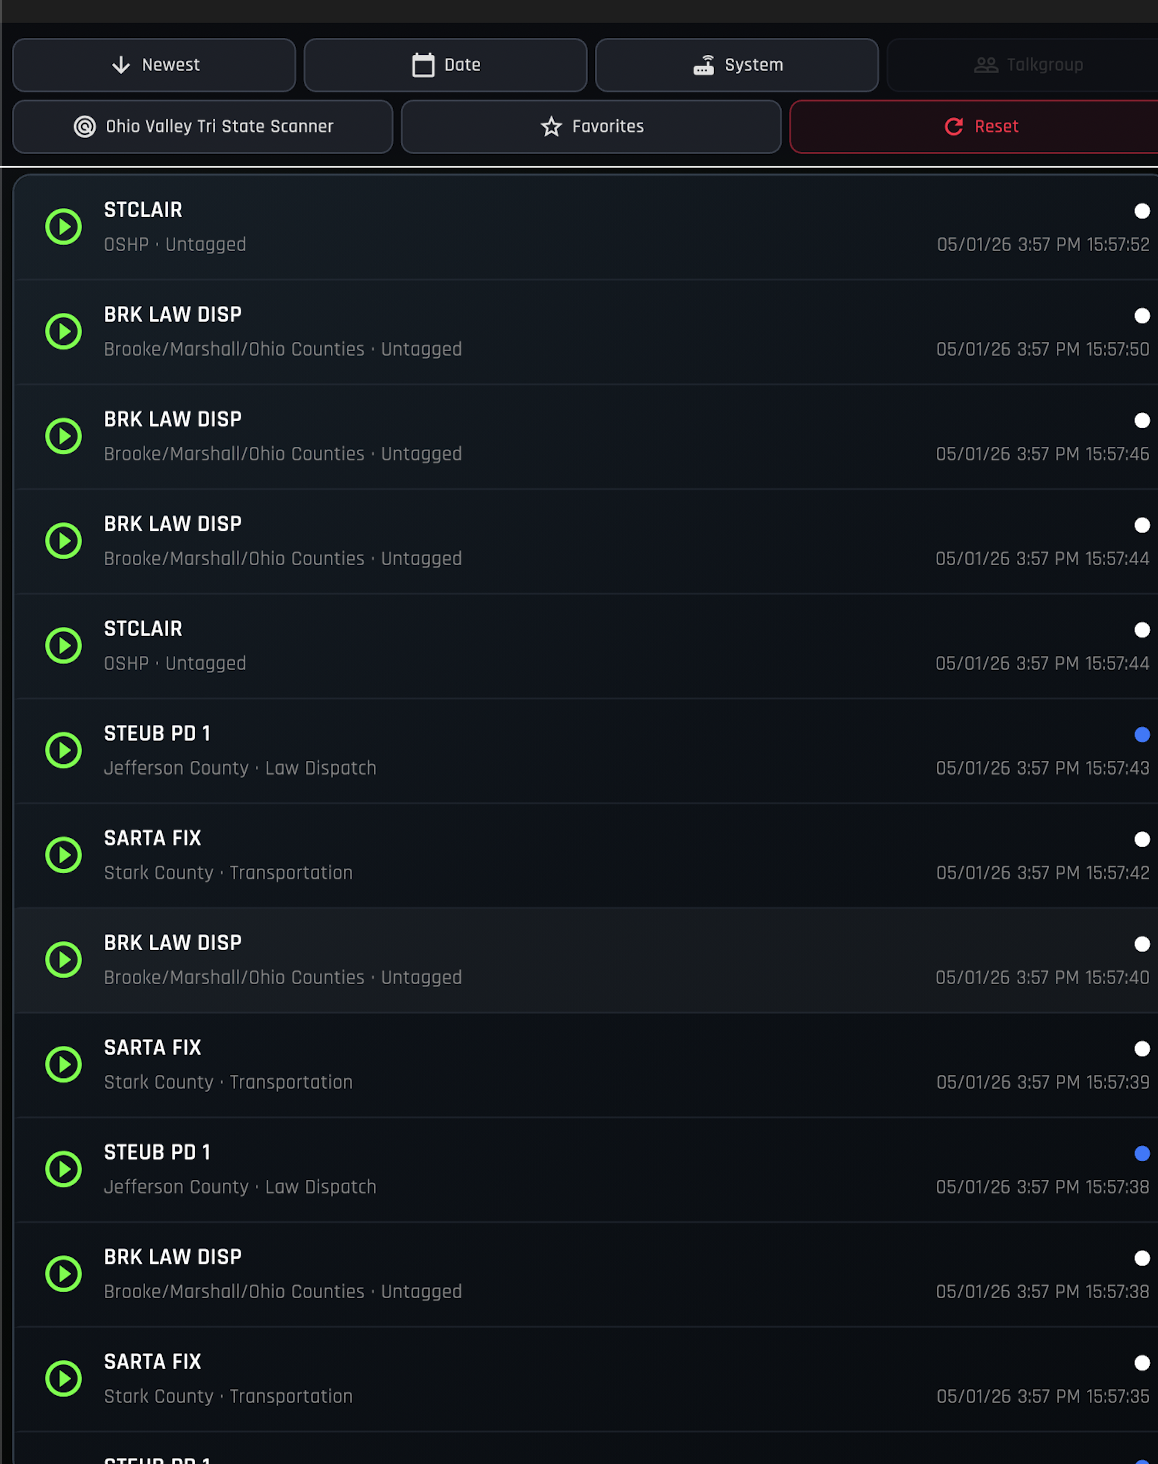
Replaying Past Calls
Missed a transmission? Use Playback to browse, filter, and replay recent calls at any time.
From the main screen, tap "Playback".
Browse the list of recent calls. Each entry displays the timestamp and talk group associated with that transmission. Use the filter options to narrow down results by agency, time, or system.

Tap any call in the list to replay it and listen to the recorded transmission.